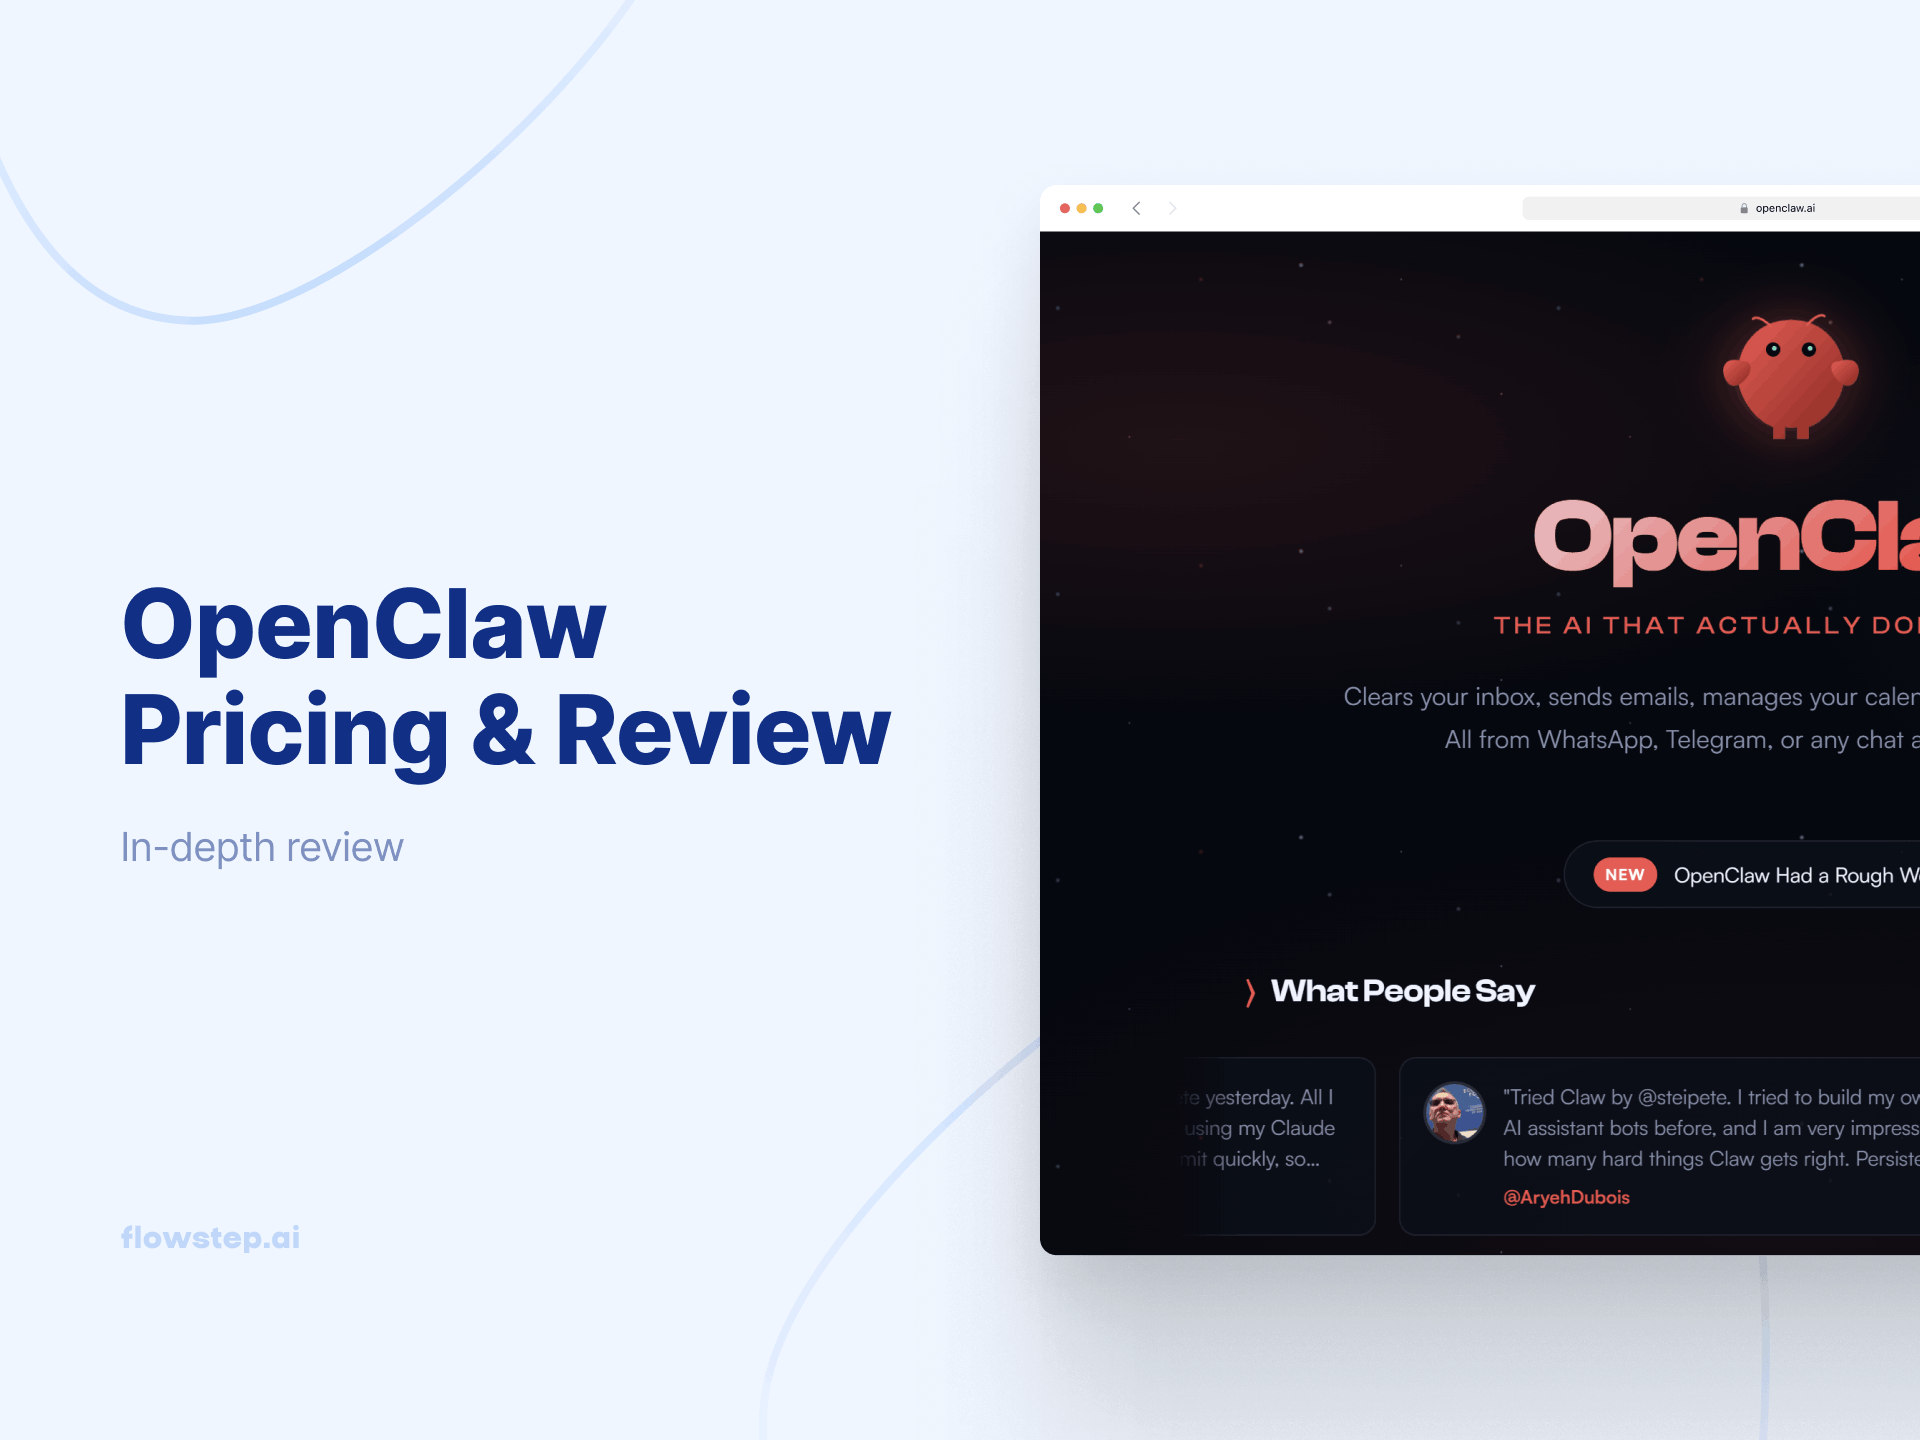
OpenClaw Pricing & Review: Free and Open Source vs Actual Costs
Wondering what OpenClaw pricing really looks like once you factor in hosting and API costs? This OpenClaw review breaks down the real numbers + pros and cons.
Vibe design lets anyone turn a text prompt into real UI—no Figma skills required. Here's how it works, who it's for and how to use it to ship faster.
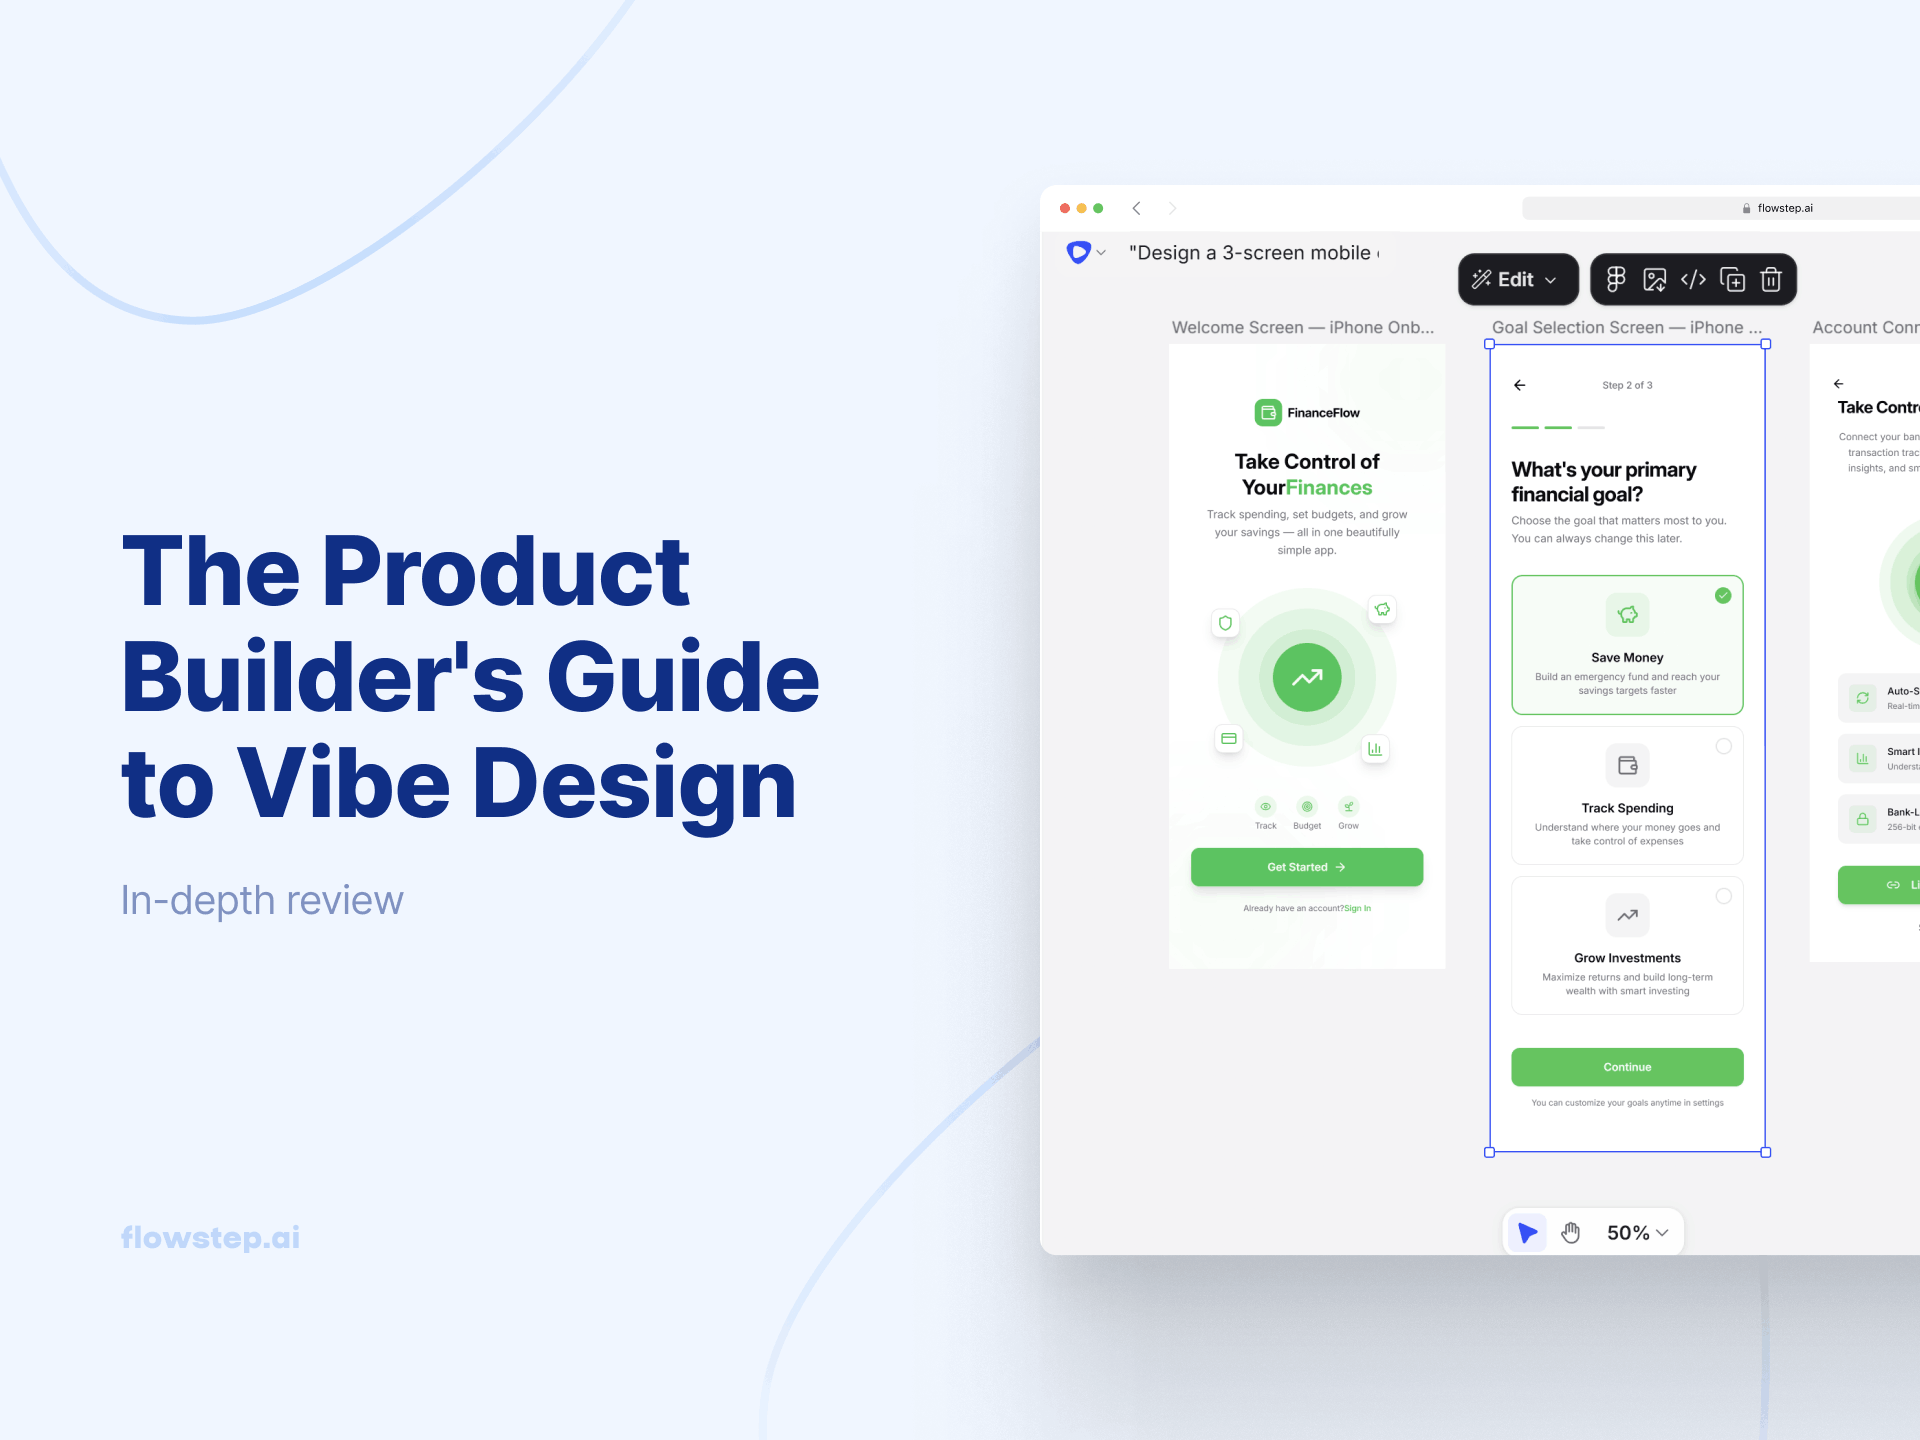
Most design tools were built for designers. You open a canvas, and if you don't already have a mental model of grids, spacing systems and component hierarchy, you're basically staring into the void. Vibe design changes that starting point. Instead of constructing a screen element by element, you describe what you want in natural language, plus a reference image or URL for inspiration, and AI generates the UI. Your role becomes direction and taste, not technical execution.
That shift changes who gets to participate in the design process altogether, and at what stage of the product creation cycle visual thinking enters the room.
The starting point is vibe coding, which Andrej Karpathy introduced in a February 2025 tweet that took on a life of its own. His idea was simple and a little chaotic: describe what you want to build in plain language, let the AI write the code, skip the part where you review every line. "Forget that the code even exists," as he put it. It was meant for throwaway projects. It became a cultural moment.
The intent-first logic behind vibe coding migrated to design almost immediately. If you could describe a feature and get working code, the obvious next question was: Can you describe a screen and get working UI? New tools started popping up, answering "yes".
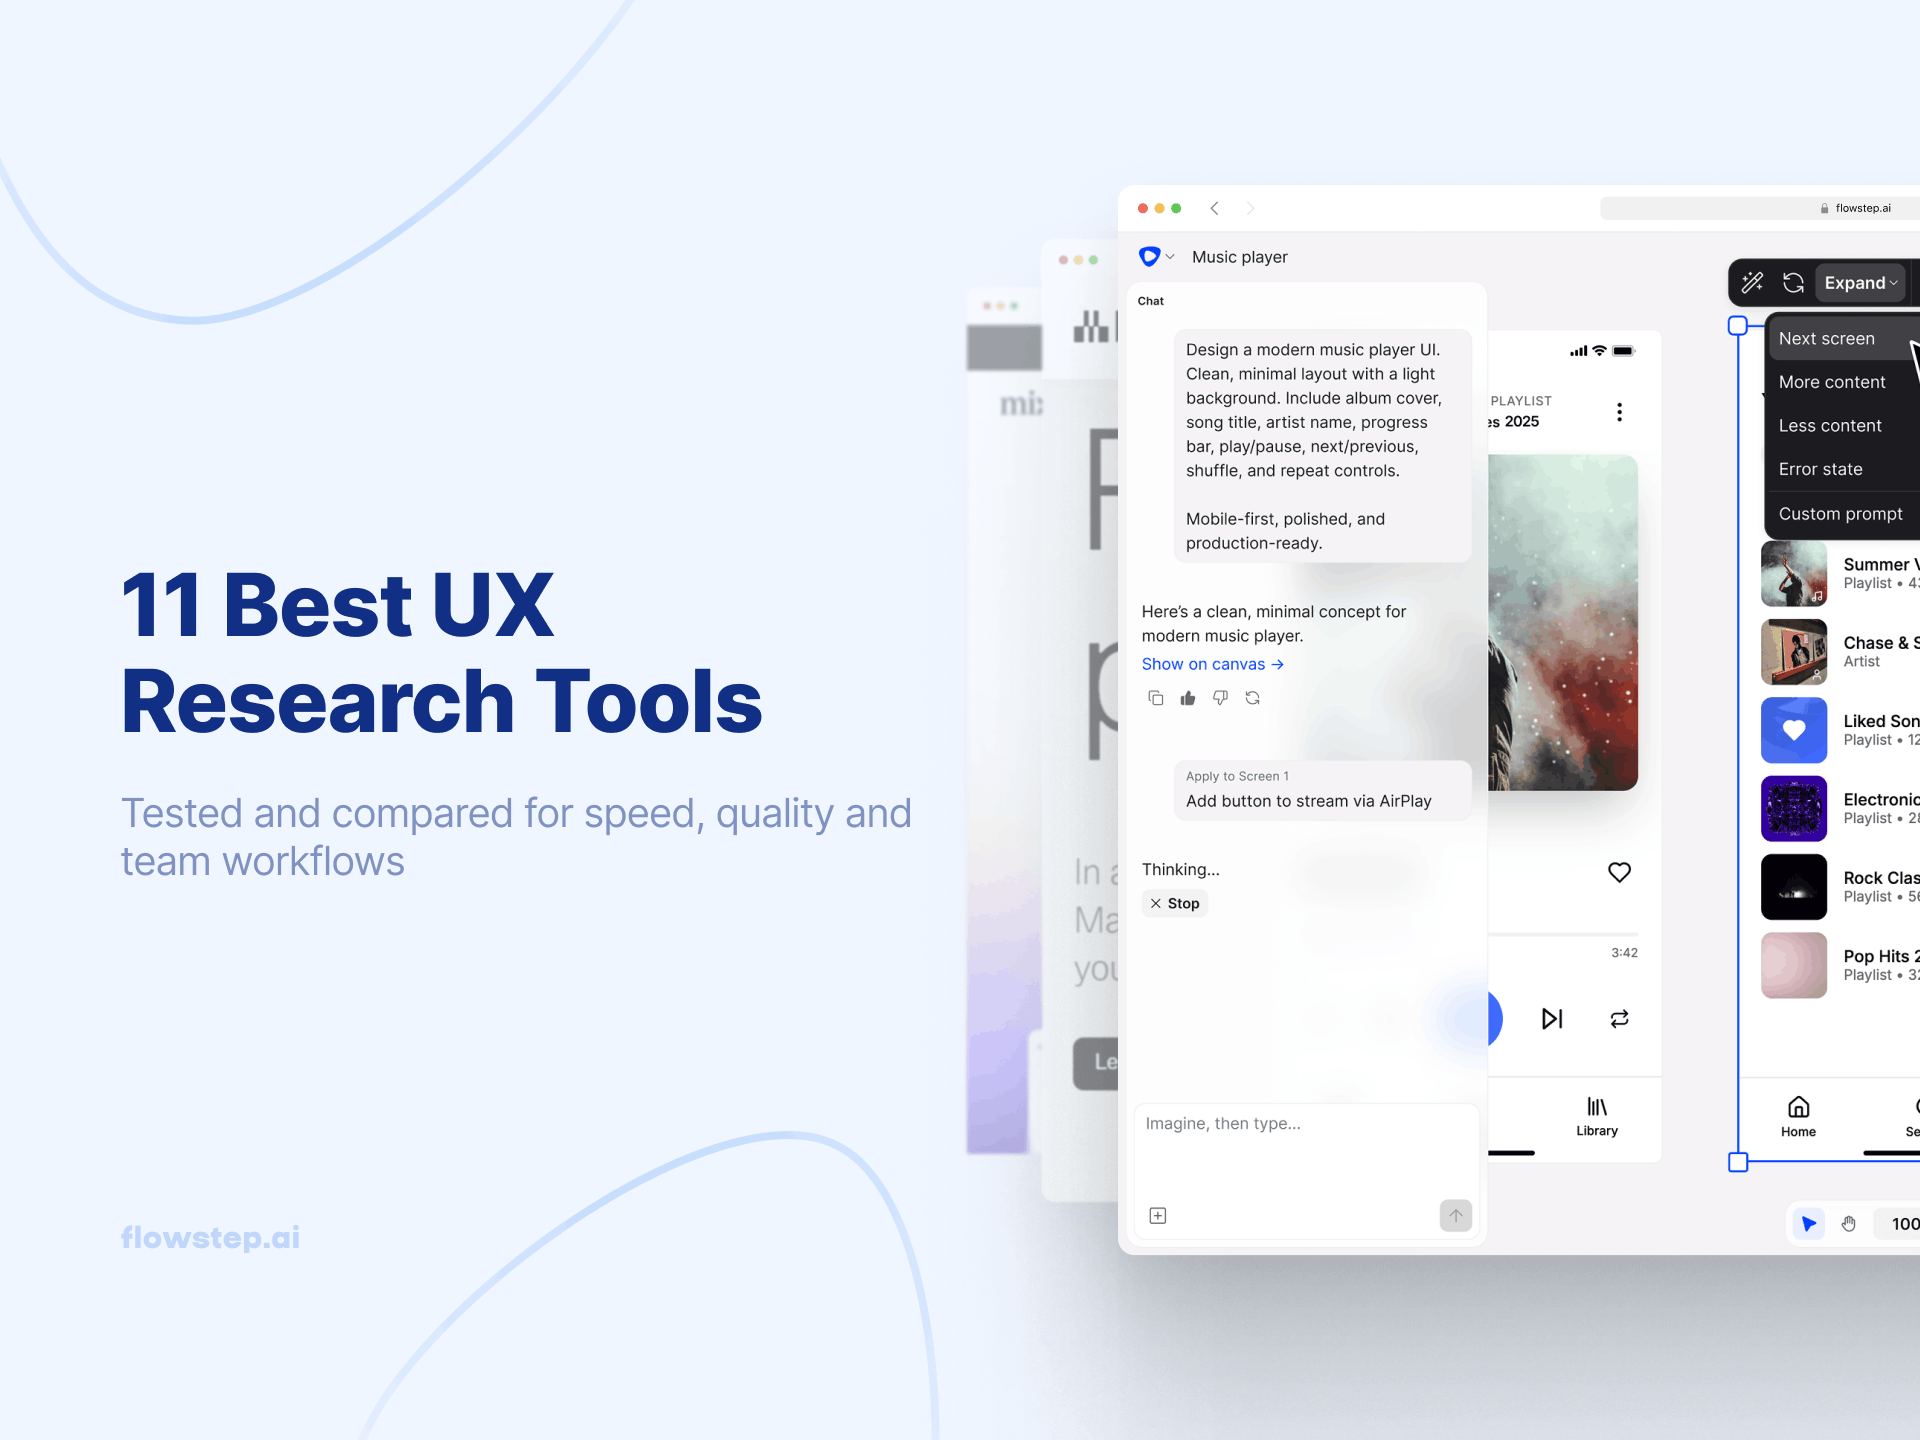
Vibe design emerged—a new way to start projects, replacing wireframes and component trees with goals, feelings and raw inspiration. Think of an infinite AI-native workspace that lets you drop in a prompt, an image, a scrap of code, and let the AI design agent figure out the rest.
Teams using AI-driven design workflows already report 70% faster prototype creation and up to 50% reduction in iteration costs. Yep, we're living in the future.
A vibe coder uses natural language to generate functional code for anything from database logic to working software. The popular tools include Lovable, Bolt or Claude Code. But those get you mostly quite unoriginal designs.
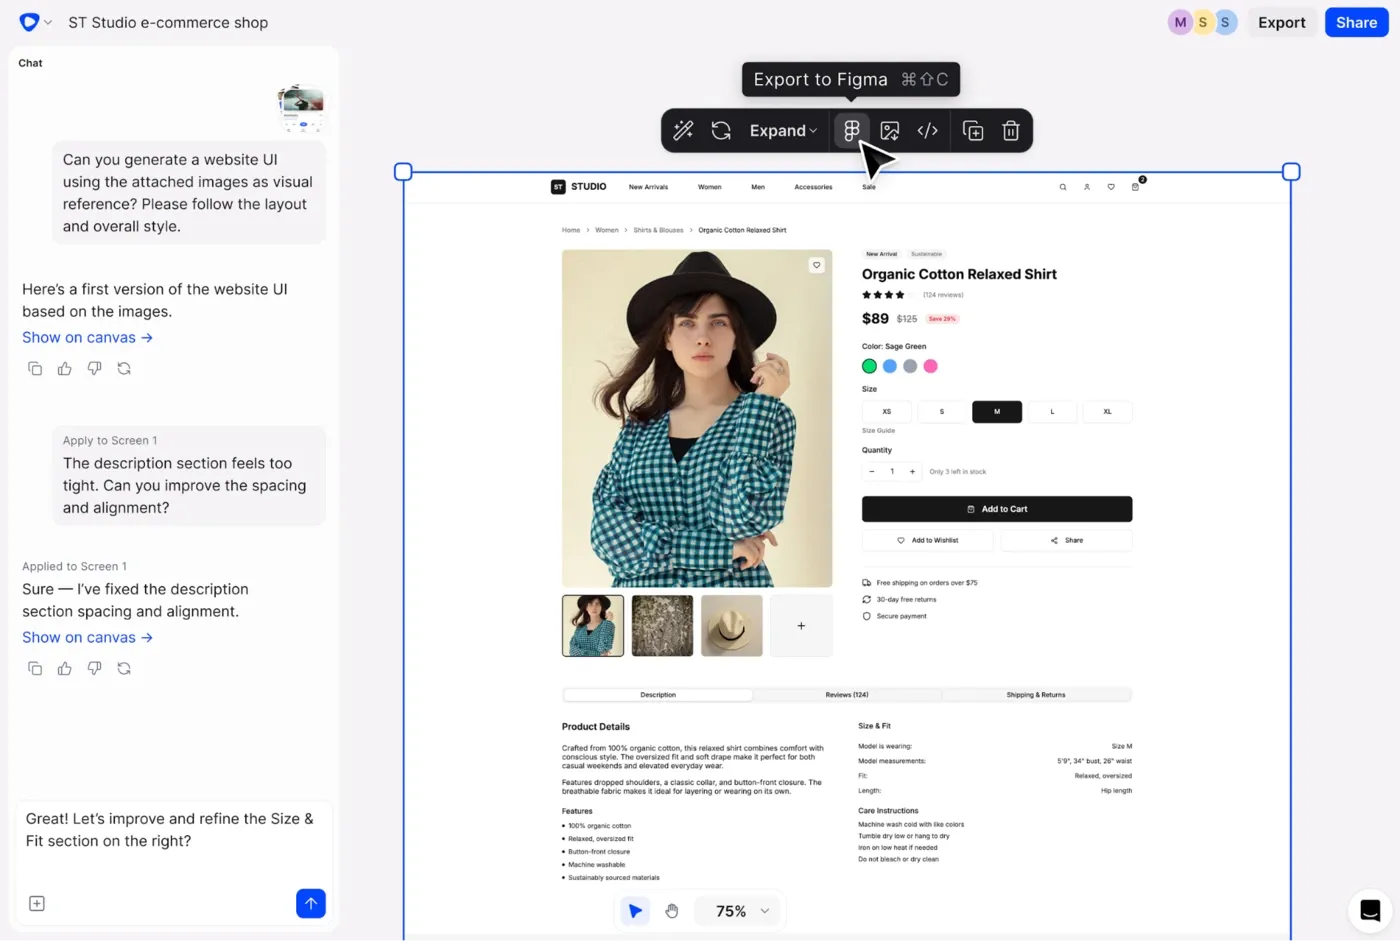
A vibe designer works in a similar fashion, but gets visual output from different types of programs: high fidelity UI, mockups and screen flows produced from prompts, references or uploaded images. You're generating a visual project you can share, test and hand off to designers in Figma or to developers as code. Flowstep, Google Stitch and Uizard are a few examples. Tools made specifically for design tend to produce better visual output than vibe coding options.
These two workflows feed each other naturally, and many tools do a bit of both. A vibe-designed screen becomes the brief for a vibe-coded build. A vibe-coded prototype gets refined visually using a vibe design tool. Flowstep gives you UI designs and production-ready code.
No, not just designers. That's kind of the whole point. Anyone can do it:
Open up a tool like Flowstep and follow this step-by-step to get a finished product in no time:
Most people write their first design prompt too loosely and blame the tool when the output is generic. Here's what to do to achieve better results:
❌ "Design a login page."
✅ "Design a login screen for a B2B SaaS tool. Email and password fields, forgot password link, Google social login option. Clean and professional—think Notion or Linear aesthetic."
See also: How to write effective wireframe prompts
Vibe design is good at speed and exploration. It brings visual thinking into the room faster, makes it easier to generate variations, and removes the blank-canvas problem that kills momentum on projects.
It doesn't know your users or understand your business constraints, though. The design agent generates output based on what you describe, but whether that output solves a real-world problem is still your responsibility.
The teams getting the most out of vibe design aren't using it to skip design thinking. They're using it to move through the ideation phase in far less time and explore ideas that previously would've taken time, money and effort nobody can afford.
See also: How AI fits into the design process
The old design process went something like: have an idea → describe it → wait for a designer to visualize it → review → revise → repeat. The new one: have an idea → describe it → see it in seconds → put it in front of users.
Flowstep is an AI design tool built for product builders who want to go from idea to real UI without learning Figma or waiting on a design sprint. It generates fully editable screens from prompts in seconds, supports real-time collaboration, and copies straight into Figma or exports production-ready code. Try Flowstep free and turn your next product idea into a working product in minutes.
Most vibe design tools accept text prompts, image uploads, URLs and documents. Flowstep lets you upload anything you need by simply dragging and dropping. Combining inputs (a written description plus a screenshot) always produces better output than text alone.
Use vibe design to create a polished UI without any design experience. Traditional tools like Figma are for production-level refinement, handling complex design systems and component-level precision.
No. It accelerates ideation and makes visual communication accessible to non-designers, but it doesn't replace UX judgment, research synthesis or design systems thinking. What it does is shift where designers spend their time, so more of it goes toward creative decisions.
Flowstep is the fastest path from a text prompt to easily editable, polished, production-ready UI, with Figma export built in. A few other options worth knowing: